Ok looks like I won't need the screen casing (that saves me £20), it's got no cracks or damage to it.
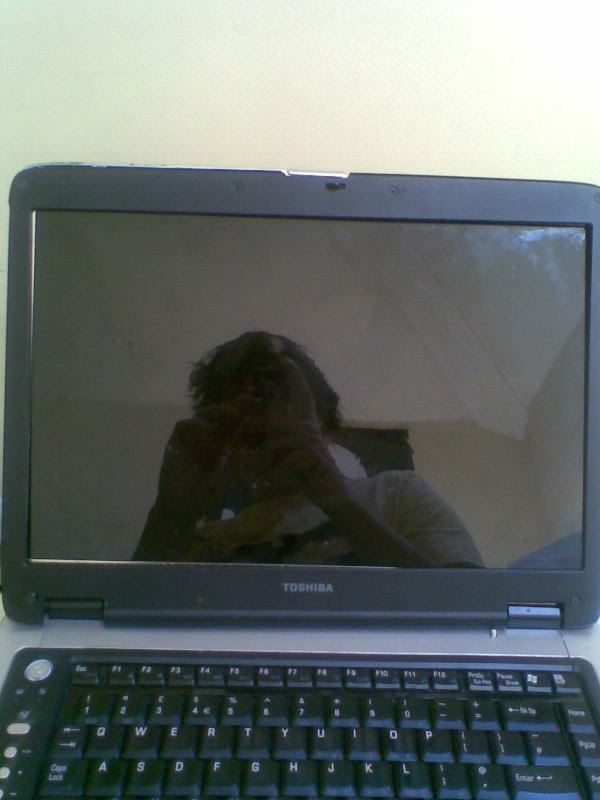
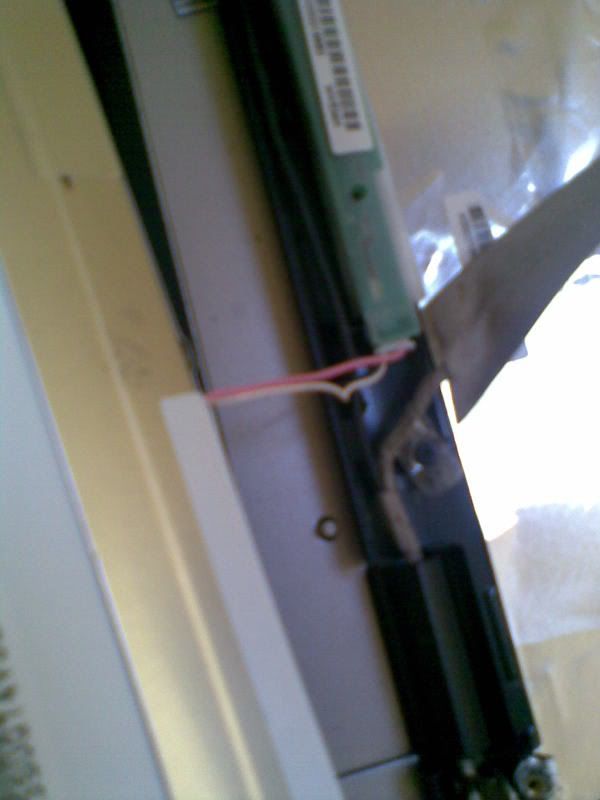
I got the screen off quite easily:
step one: remove the two screws by the screen hinges, then prise the front panel off, it will simply clip out.
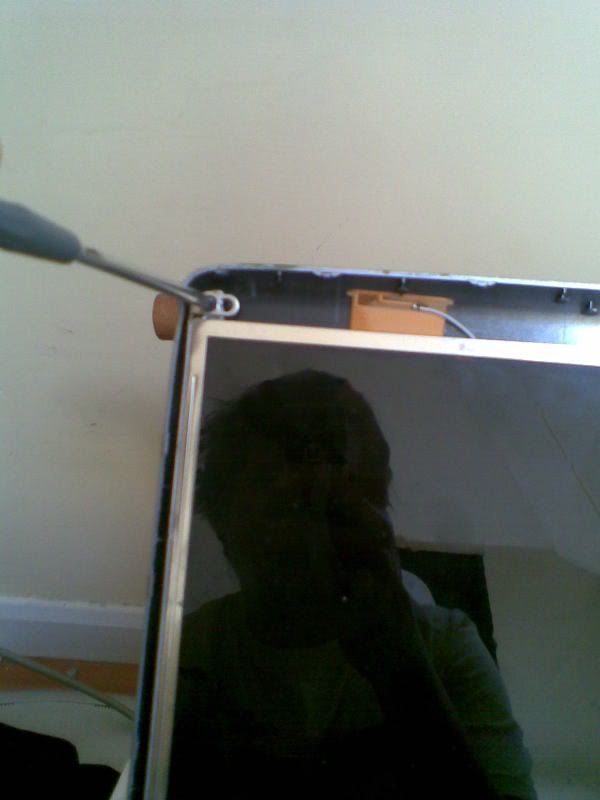
Step Two: remove the two upper screws holding the screen cradle to the back panel.
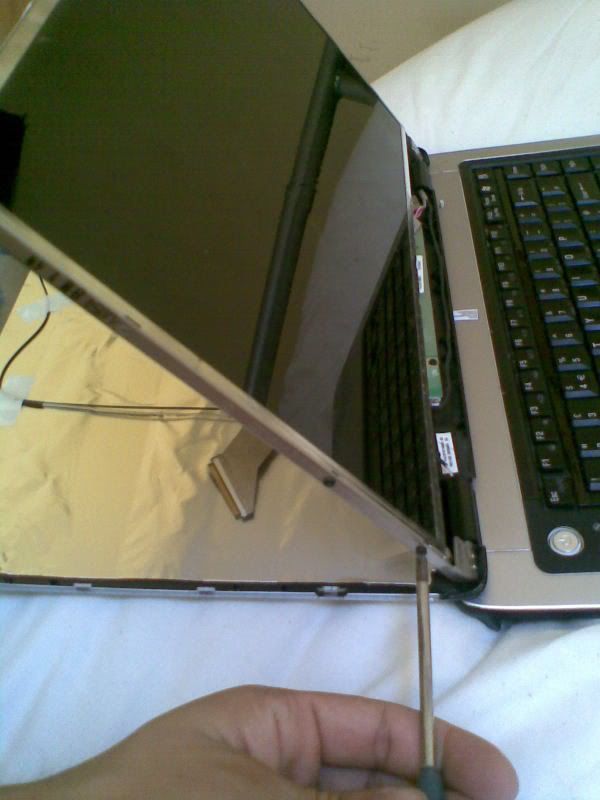
Step Three: Pull the back panel away from the screen cradle, close the lid most of the way and you should be able to just pull it apart, then remove the cradle screws.
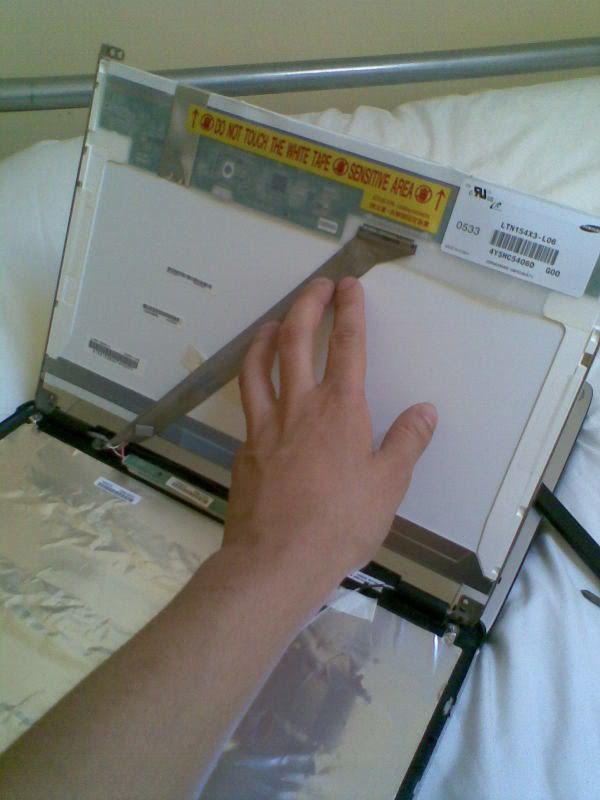
Step Four: remove the screen cable from the back, followed by the lower cable. Done.
6 tiny screws hold the screen in its cradle
2 larger ones hold the cradle to the back plate
2 (Same size) hold the front panel on.
Saturday, 2 June 2007
Removing the screen
Labels:
Broken Laptop,
broken laptop screen,
Equium,
fix,
M40,
m40x-189,
remove laptop screen,
Repair,
Toshiba Laptop
Subscribe to:
Post Comments (Atom)
4 comments:
Hi, have you found where the internal memory slot is? I need to upgrade the memory and change both the memory modules but I haven't been able to find the second one. Is it under the keyboard?
Any help much appreciated.
Andrea
What youre saying is completely true. I know that everybody must say the same thing, but I just think that you put it in a way that everyone can understand. I also love the images you put in here. They fit so well with what youre trying to say. Im sure youll reach so many people with what youve got to say.
What youre saying is completely true. I know that everybody must say the same thing, but I just think that you put it in a way that everyone can understand. I also love the images you put in here. They fit so well with what youre trying to say. Im sure youll reach so many people with what youve got to say.
http://laptopscreenrepair.blogspot.com/
I just put this on my site. I hope it works for technologically challenged old farts!
Laptop Screen Repairs
Post a Comment