Saturday 3 October 2009
Monday 4 June 2007
the dvd/rw drive
I am very pleased. Just saved an extra £40 odd. I took the dvd drive apart and found that it wasn't working as it's been hit so hard that the casing had been dented enough for the cd to hit it as it turns. I knocked the dent out and it seems to be working fine!
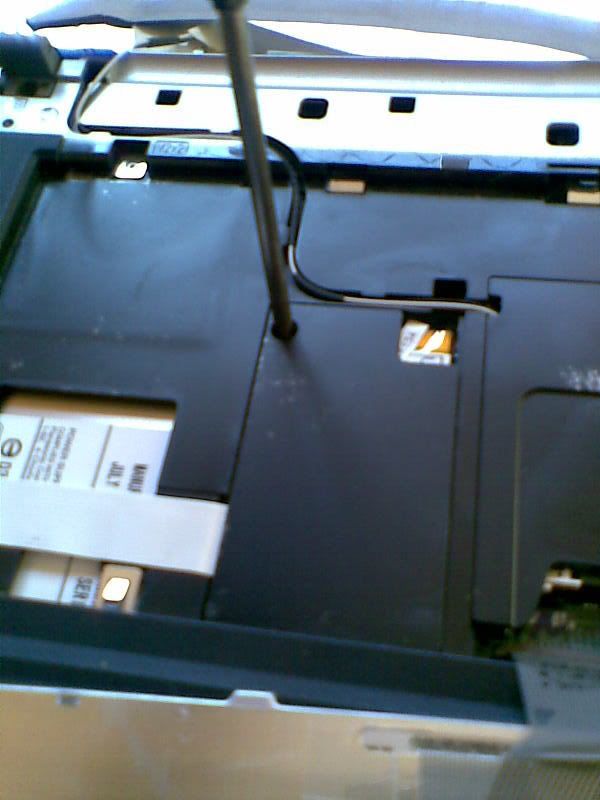
Taking the DVD drive out was simple after I worked out how to get to it:
Step Two: Prise the plastic cover above the keyboard away, a screwdriver or knife works, it may need some encouragement to come off, and makes some worrying snapping noises as the clips come undone (don't worry, it won't break if you're careful) note: the screen doesn't have to be removed for this

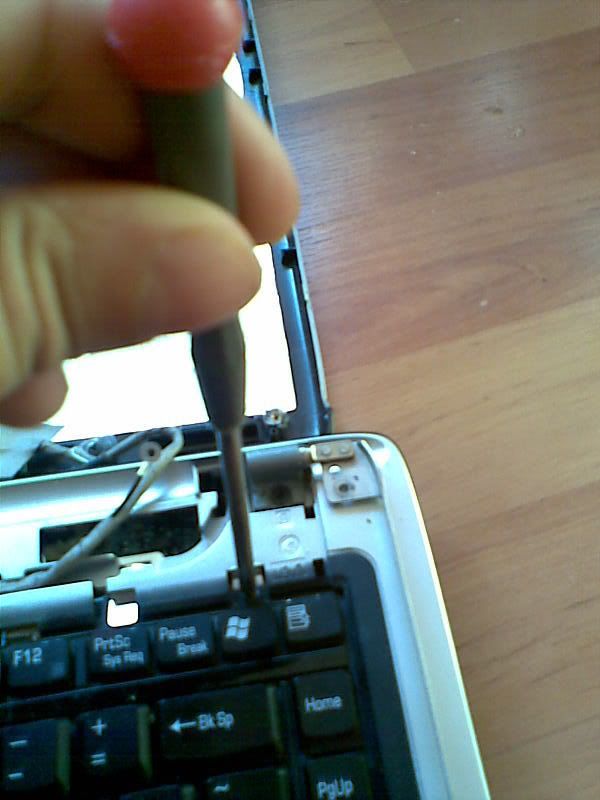
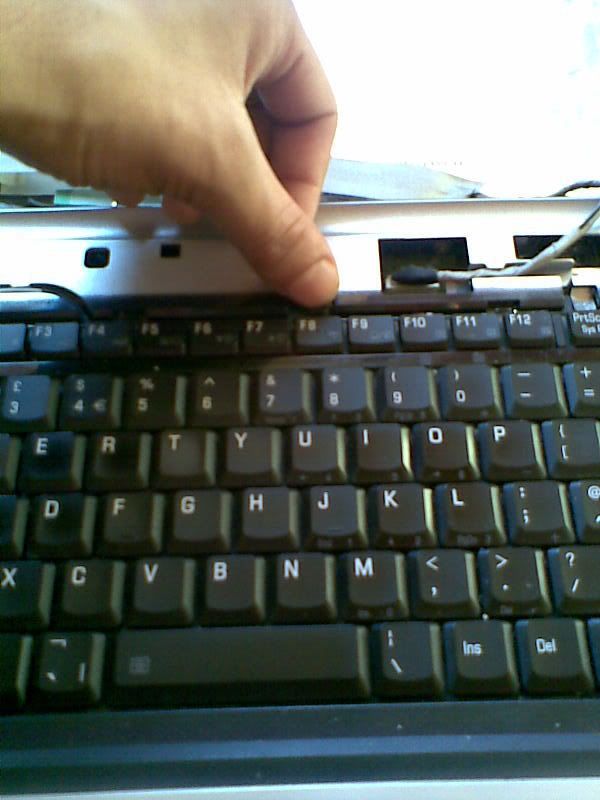
Step Three: remove the two screws holding the keyboard in, then relese the centre holding clip, and remove keyboard by folding forward, taking care not to damage the cable
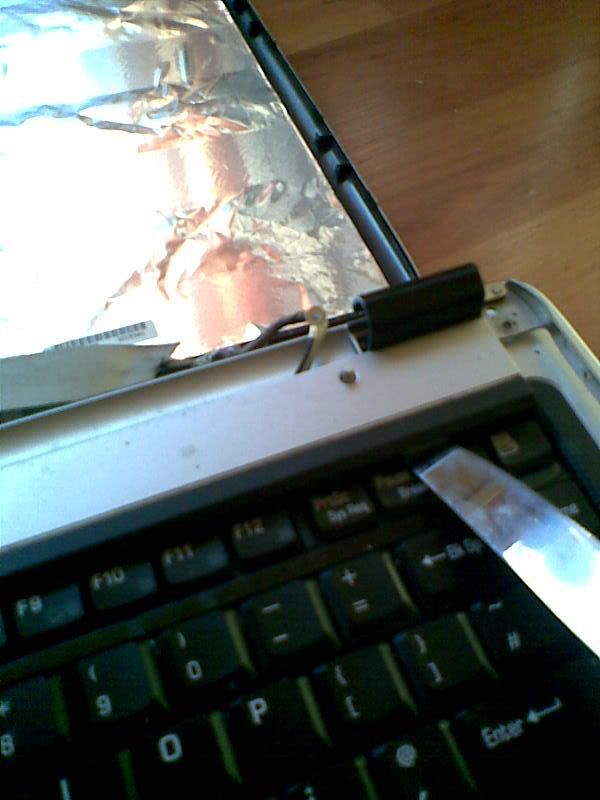
I noticed the black and white wires running to the top cover, they are the wifi antennas, possible future hack there...
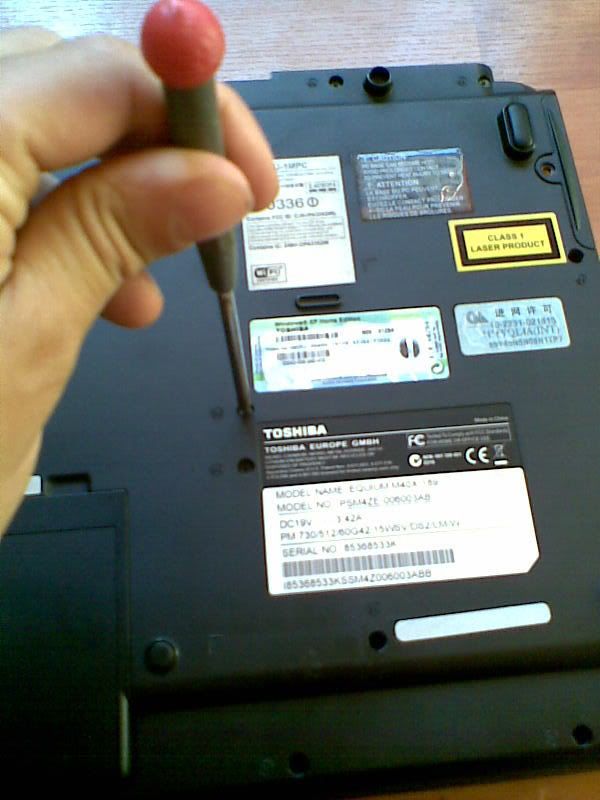
Taking the DVD drive out was simple after I worked out how to get to it:
Step One: remove the screw holding the drive in.
Step Two: Prise the plastic cover above the keyboard away, a screwdriver or knife works, it may need some encouragement to come off, and makes some worrying snapping noises as the clips come undone (don't worry, it won't break if you're careful) note: the screen doesn't have to be removed for this

I noticed the black and white wires running to the top cover, they are the wifi antennas, possible future hack there...
Sunday 3 June 2007
new screen ordered!
New screen
Should arrive tuesday or wednesday.
I've also run a diagnostic on the hard drive, turns out it had a few bad sectors, this should be repaired now.
Should arrive tuesday or wednesday.
I've also run a diagnostic on the hard drive, turns out it had a few bad sectors, this should be repaired now.
Saturday 2 June 2007
Removing the screen
Ok looks like I won't need the screen casing (that saves me £20), it's got no cracks or damage to it.
I got the screen off quite easily:
step one: remove the two screws by the screen hinges, then prise the front panel off, it will simply clip out.
Step Two: remove the two upper screws holding the screen cradle to the back panel.
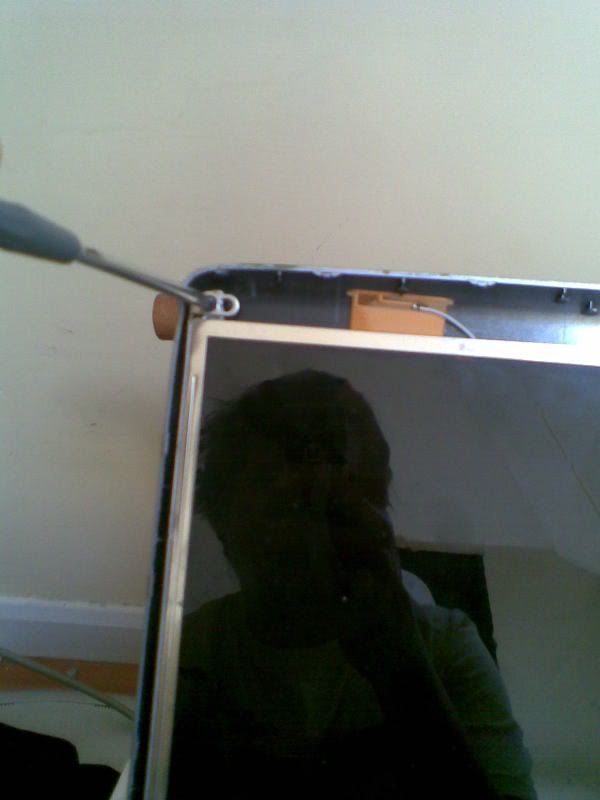
Step Three: Pull the back panel away from the screen cradle, close the lid most of the way and you should be able to just pull it apart, then remove the cradle screws.
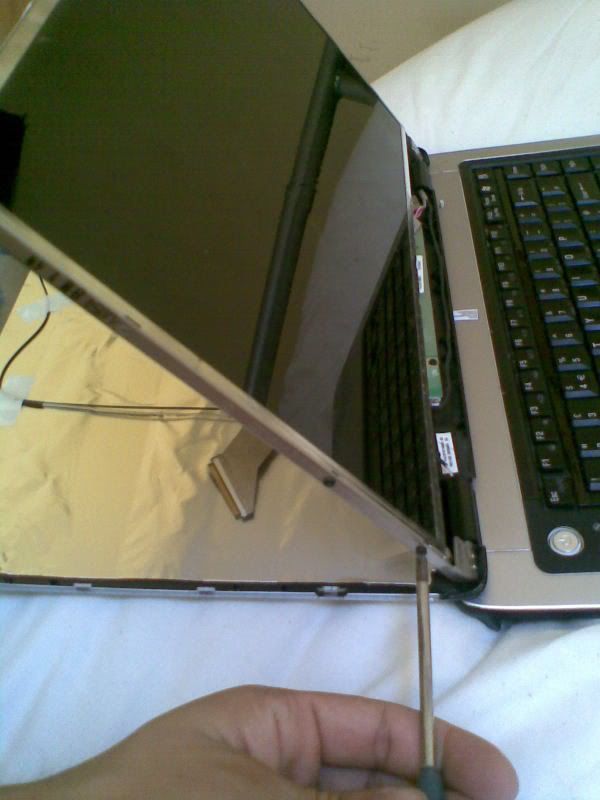
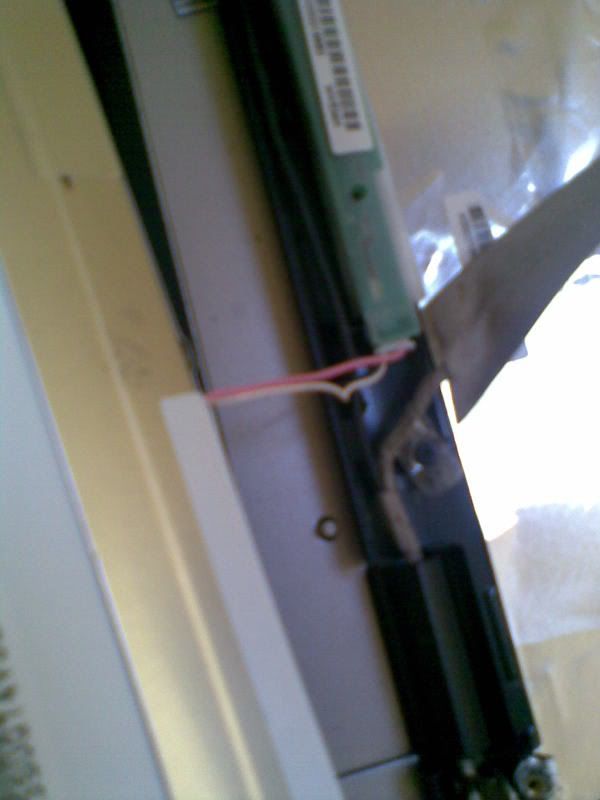
Step Four: remove the screen cable from the back, followed by the lower cable. Done.
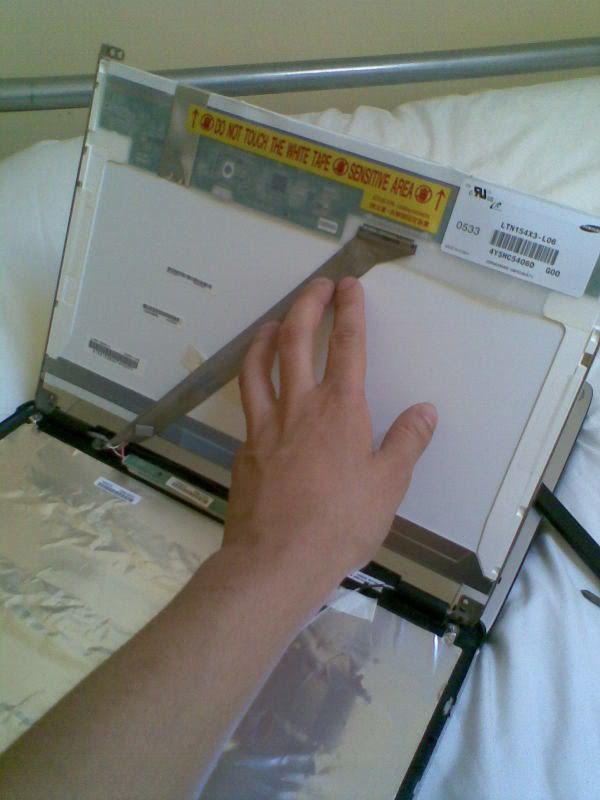
6 tiny screws hold the screen in its cradle
2 larger ones hold the cradle to the back plate
2 (Same size) hold the front panel on.
I got the screen off quite easily:
step one: remove the two screws by the screen hinges, then prise the front panel off, it will simply clip out.
Step Two: remove the two upper screws holding the screen cradle to the back panel.
Step Three: Pull the back panel away from the screen cradle, close the lid most of the way and you should be able to just pull it apart, then remove the cradle screws.
Step Four: remove the screen cable from the back, followed by the lower cable. Done.
6 tiny screws hold the screen in its cradle
2 larger ones hold the cradle to the back plate
2 (Same size) hold the front panel on.
pics and prices


Ebay prices are currently looking at the following:
New screen - £150 min
DVD RW drive - £35
Casing (inc. touchpad) - £20 \ optional
Screen surround - £20 /
Est. Total: £225 /£185
ebay laptops of roughly the same specs are going for alot more than that, and I get the added bonus of being able to pay over however long I want.
Friday 1 June 2007
The project
I need want a decent laptop. The problem is that whist I am earning, It's only a part time job delivering pizzas (cliche), so I don't have too much cash at any one time.
Oh, I can't save. I'm very bad at saving money.
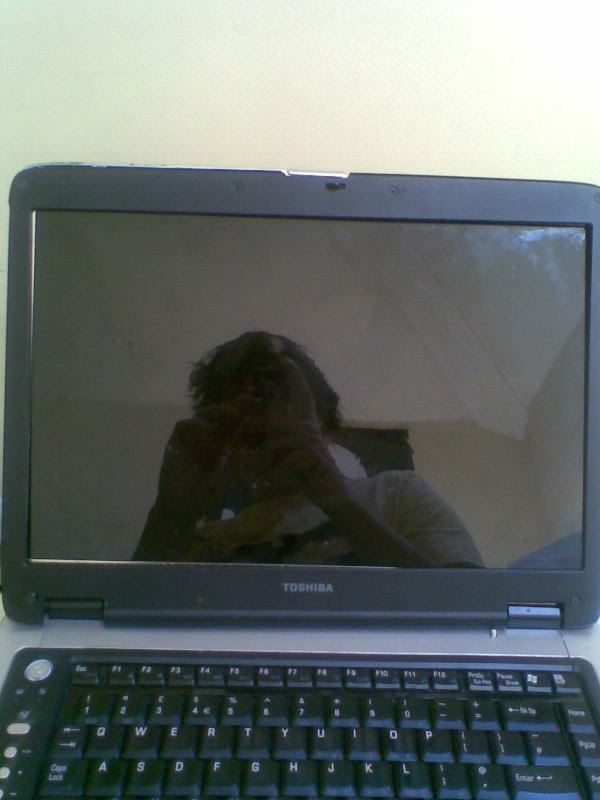
My friend has a Toshiba Equium m40x-189 laptop, a nice lappy running at 1.6ghz, 512mb ram and a 60GB HDD, however he's managed to completely wreck it.
Anyway, He's bought a new laptop and has let me take this one off his hands for the price of a few pints.
I intend to restore it to it's former glory over the next few months, buying parts when I have the cash.
I'm mainly blogging this all so I can remember how to reassemble the lappy after I tear it apart.
Pics of the original to follow.
Az
Oh, I can't save. I'm very bad at saving money.
My friend has a Toshiba Equium m40x-189 laptop, a nice lappy running at 1.6ghz, 512mb ram and a 60GB HDD, however he's managed to completely wreck it.
- Broken the DVD/RW drive clean off.
- Smashed the screen
- Various cracks in the body
- HDD appears damaged, won't boot windows.
Anyway, He's bought a new laptop and has let me take this one off his hands for the price of a few pints.
I intend to restore it to it's former glory over the next few months, buying parts when I have the cash.
I'm mainly blogging this all so I can remember how to reassemble the lappy after I tear it apart.
Pics of the original to follow.
Az
Subscribe to:
Posts (Atom)